If you’re a regular BMX rider, you’ll know that one of the most vital components to a BMX is the handlebars. This means knowing how to adjust BMX handlebars is essential.
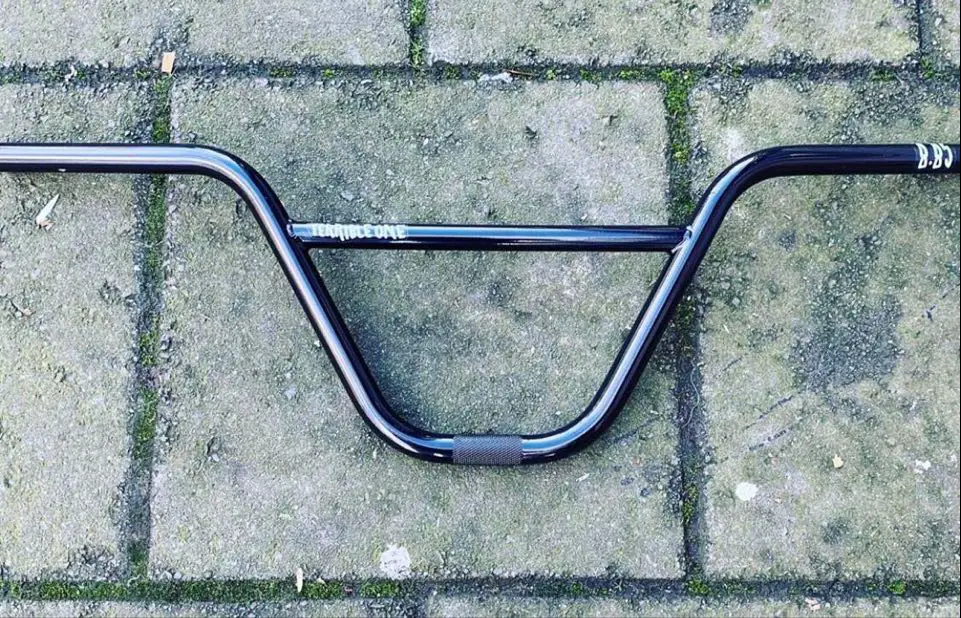
If you’re looking to replace your handlebars, then knowing how to re-position them correctly is important. Its essential to position your handlebars parallel to your shoulders.
If you wish to increase the handlebar’s height or lower it, then you’ll need to follow this guide we’ve created below. It details steps on how to adjust your BMX handlebars height.
Table of Contents
How To Adjust BMX Handlebar Height & Position
1. Adjusting The Handlebars And Stem
When you’ve got your first BMX, you should realistic initially check its handlebars to see if they’re adjustable. This is important as in the future you may want to replace or adjust the handlebars.
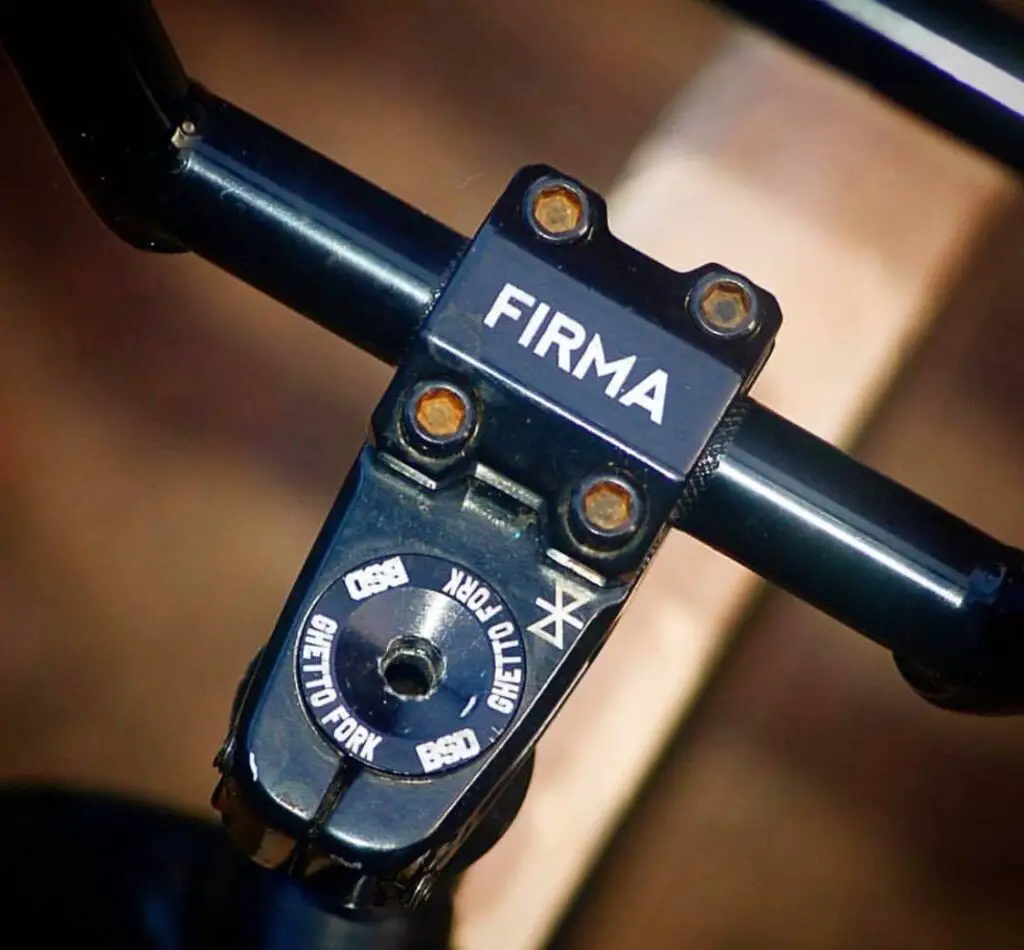
The most common method of doing this, is by adjusting it through stem. The stem is the component that connects the bike frame to the handlebars. Be sure that you check out the type of stem you have and then our article on how to remove it safely.
Additionally you need to ensure that the stem you have chosen, if you’re going to replace it, matches the shape of your handlebar.
2. Unscrew The Stem Bolt
Next it would be a great idea to securely position your wheels on the ground, so that when you loosen the bolts, they’re on the back of the component. Make sure at this point that you have an Allen key, so that you can unscrew the remainder of the bolts.
Once you’ve completed that task, you’ll need to remove the top cap section of the stem, then you should be able to remove the stem from the steering tube.
3. Find The Height You Require For The Handlebars
You’ll next need to think about the height that you wish to have whilst riding. Then have a thought regarding how much you would like to lower or raise your bars by.
Once you’ve decided this, you can then make the decision to whether you need to remove or add some spacers to reach the height of your requirements. You should ensure that height you have chose is suitable for your posture and so that you don’t strain any parts of your body.
4. Position The Stem Again On The Steerer Tube
Next you’ll need to place the stem back into the position securely. Ensure that you’ve switched over the spacers that you removed.

Next you’ll need to ensure that you have left around 3.5 MM to 5.5 MM of space to provide some space, so that the headset top cap will clamp down. You can then place the bolts into the top cap and securely screw the bolts into it.
5. Align The Stem With The Wheels
Next you should focus on positioning your stem in parallel with your wheel. By doing this, you can confidently reassure yourself that the handlebars are at the correct angle with your BMX’s front wheel.
Once you have correctly positioned your wheel and stem, so that they’re aligned, you can then begin to tighten the bolts on the stem clamp. When you do this, ensure that you do it in a ‘Criss-Cross’ or ‘X’ manner so you evenly apply pressure. If you have a torque wrench to tighten them, that’s even better.
Next be sure that you check out if you’ve done this suitably by going for a ride on your BMX! If it still feels loose, then get a wrench to tighten it again!
Useful Tip – How To Adjust BMX Handlebars
If you do not have the required amount of spacers for a suitable height improvement, then you can always rotate and flip the stem whilst you’re adjusting the height!
Final Points – How To Adjust BMX Handlebars
Overall this guide gives you a simple understanding into how to adjust BMX handlebars and by now, you’ll realise that you don’t have to be an expert to do this. If you’re reading this guide and think that you experience strains or discomfort in your wrists, then it may be a good idea to adjust your BMX handlebars.
Leave a Reply
You must be logged in to post a comment.