Many riders who have been riding for a while may get the urge to upgrade their BMX stem. To begin upgrading your stem, you’ll firstly need to remove the BMX stem.
There are different types of BMX stems that you can upgrade with, so be confident on the type you wish to choose. By upgrading your stem for, it’ll improve your performance greatly.
Down below we have created an article on the best method on how to remove the BMX stem from your BMX bike setup.
Table of Contents
Removing The BMX Stem
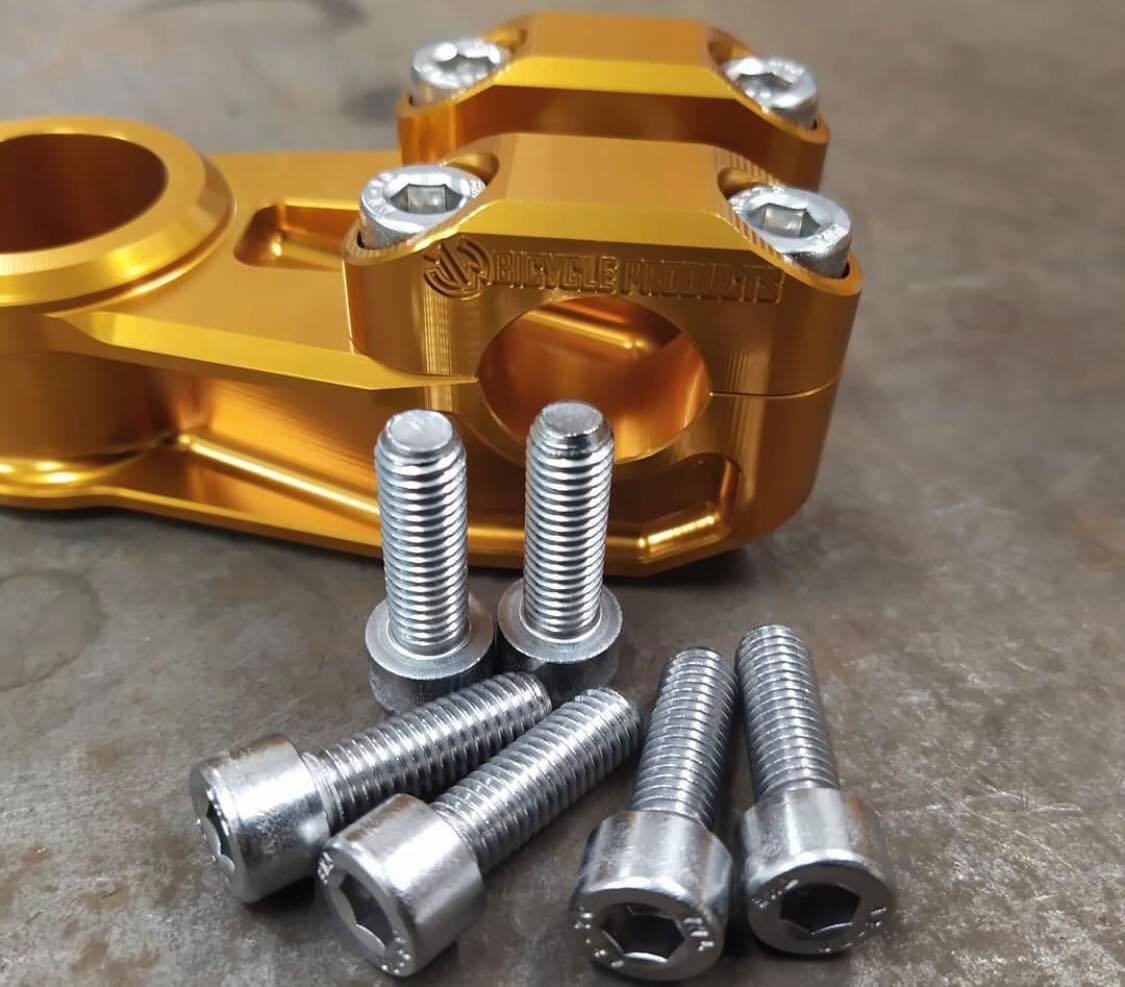
1. Loosen Up The Face-Plate Bolts
Firstly you’re required to loosen up the bolts on the face-plate of the stem. To do this and to not damage the paint work on your stem or handlebars, you need to start with the top bolt. Once you have done that bolt, move to the one that is diagonally downwards from that.
Once you have completed that, the pressure of the clamp component of the stem will have been reduced evenly. Then you can loosen the bolt at the top, then the one at the bottom of the face-plate.
By using this method, it protects the shaping of your handlebars and the paintwork, as the pressure has been evenly alleviated.
2. Remove The Face-plate
Once you’ve removed the bolts, you need to hold the face-plate tightly, with a small amount of pressure applied. Now make sure you hold your handlebars and remove the face-plate.
Remove the handlebars then and carefully store them safely so you don’t damage them.
3. Remove The Top Cap Off
The final step is the easiest, you’re not required to loosen up the bolt on the top cap. Once this has been loosened, you can then remove it completely and ensure that you take out the stem spacers too!
How To Install A New BMX Stem
- Initially to attach your handlebar stem to the frame, you’ll need to loosen the bolts on the handlebar stem. Then insert these on the top of the steering tube, ensuring that you locate a spacer at the center of the hole on top.
- Following this, you’ll have to lube or grease up the compression bolt. Once you’ve completed this, you can then position this in the hole on top of the stem.
- You’ll then need an Allen wrench to securely fit it.
- Finally securely tighten the bolts on the stem, that you initially loosened. Ensure that these are correctly positioned.
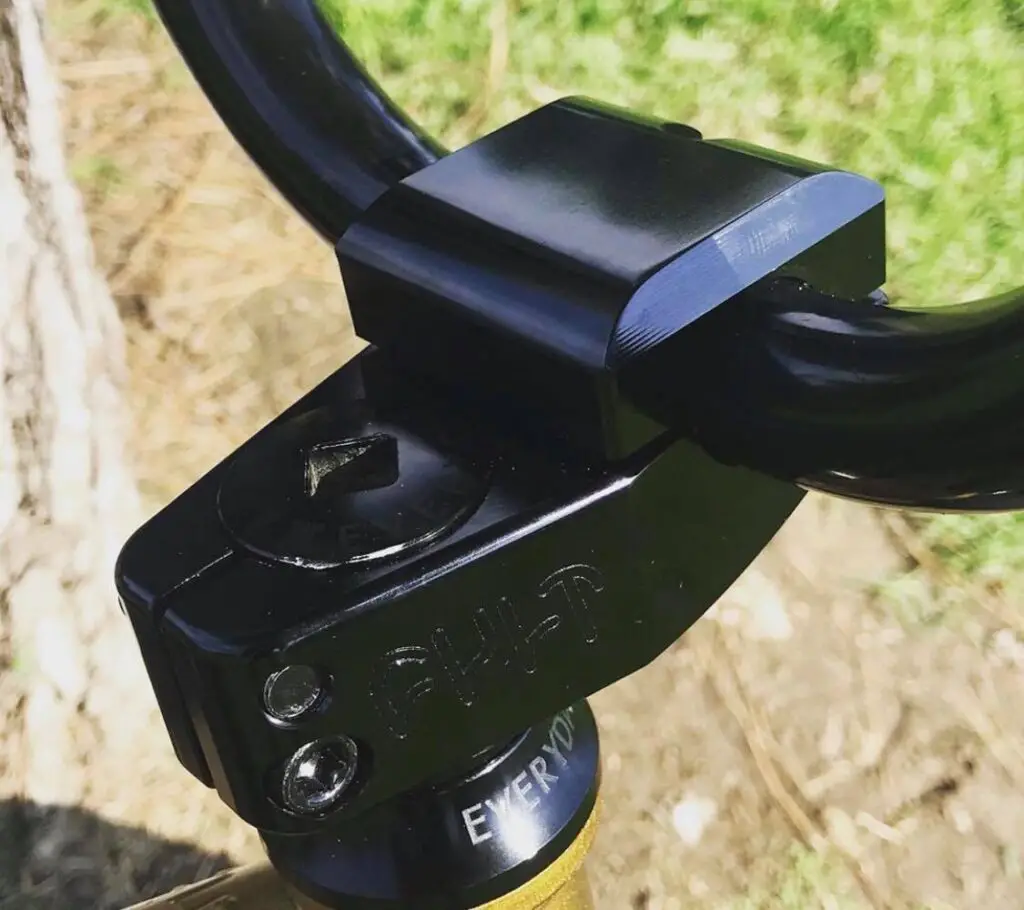
How To Fit The Stem On A BMX Handlebar
In terms of fitting the stem on a BMX handlebar, this can be attached separately or attached by fitting the entire assembly to the BMX forks. To do this, you begin by starting to loosen the clamping bolts which are attached to the stem. Then you need to remove the front of the face-plate off.
- Next you need to insert the stem’s body onto the grooves.
- Then similarly, you need to insert the handlebars into the grooves.
- You need to next replace the face-plate in a manner where it fits suitably in-between the two stem pieces.
- Next you’re required to securely tighten the face-plate onto the stem’s body with the bolts.
- Similar to as mentioned before, tighten them up using the diagonal method.
How To Insert The Handlebar Into The Stem
Firstly and most importantly, ensure that you insert the stem suitably onto the frame. Once you’ve positioned these correctly into the center, you can then attach the face-plate to the main stem body with the clamping bolts that have been provided.
Next and in respect of whether your BMX stem is a top load or front load stem, you’ll need to hold your handlebars into position. You can then fit them, using the diagonal fitting pattern as previously discussed.
Once you’ve completed this, you can then carefully position the bars in a manner that they align in parallel to the BMX’s forks.
Alternatively, if you fitted the stem on its own to your handlebars, you can proceed to fit the other components. You should begin to place the stem and handlebars onto steering tube on your BMX.
Finally, you’ll be required to insert you compression bolt into position using an Allen wrench.
Conclusion
Ultimately if you’re looking to upgrade your BMX stem, then if you use this guide it’ll help you with how to remove the BMX stem. This will enable to replace and upgrade your current one.
Leave a Reply
You must be logged in to post a comment.